


DIY 3D Wooden Challenging Assembled Car
DIY 3D Wooden Challenging Assembled Car
🧩 220 Pieces
🕟 4H Assembly Time
Couldn't load pickup availability
-
Ordered
- - -
Order Ready
- - -
Delivered

DIY 3D Wooden Challenging Assembled Car
Shipping & Returns
Shipping & Returns
All orders are processed by our extra careful fulfillment team within 48-72 hours. Deliveries depending on your locations will take from 3-10 days.
Our Guarantee to you
Our Guarantee to you
We want you to be completely satisfied with your purchase, and that's why we offer a 30-day money-back guarantee.
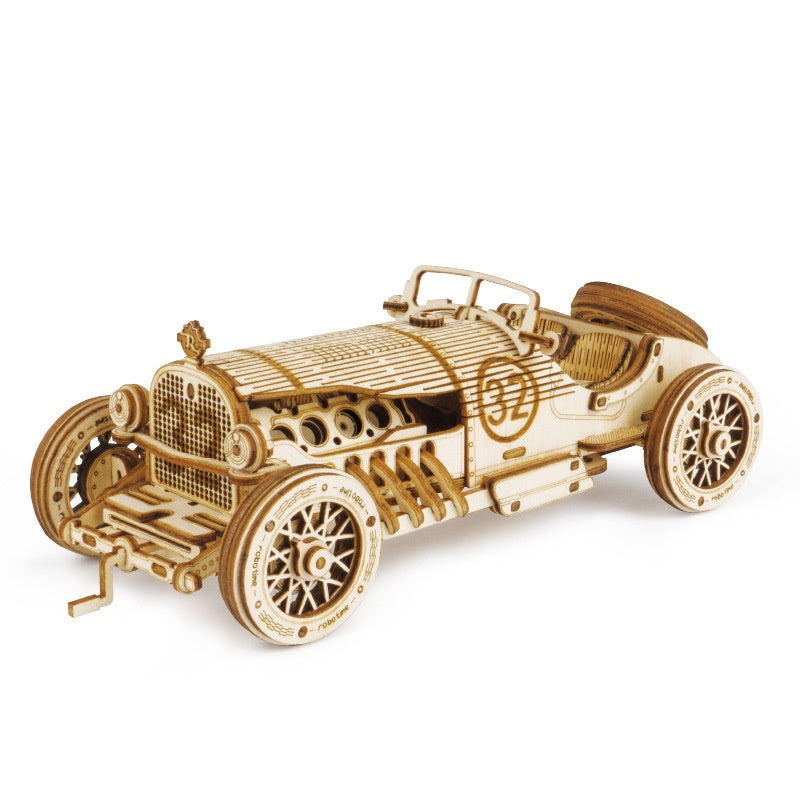
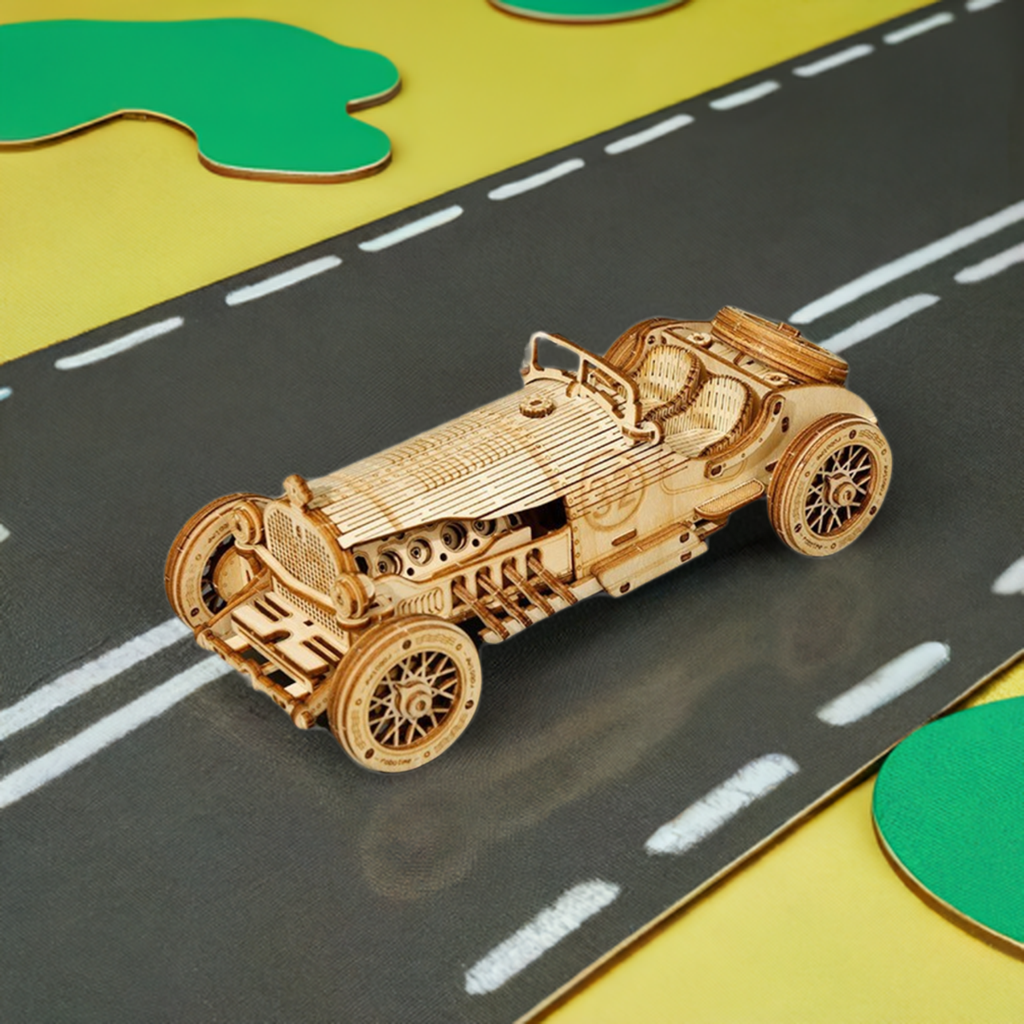
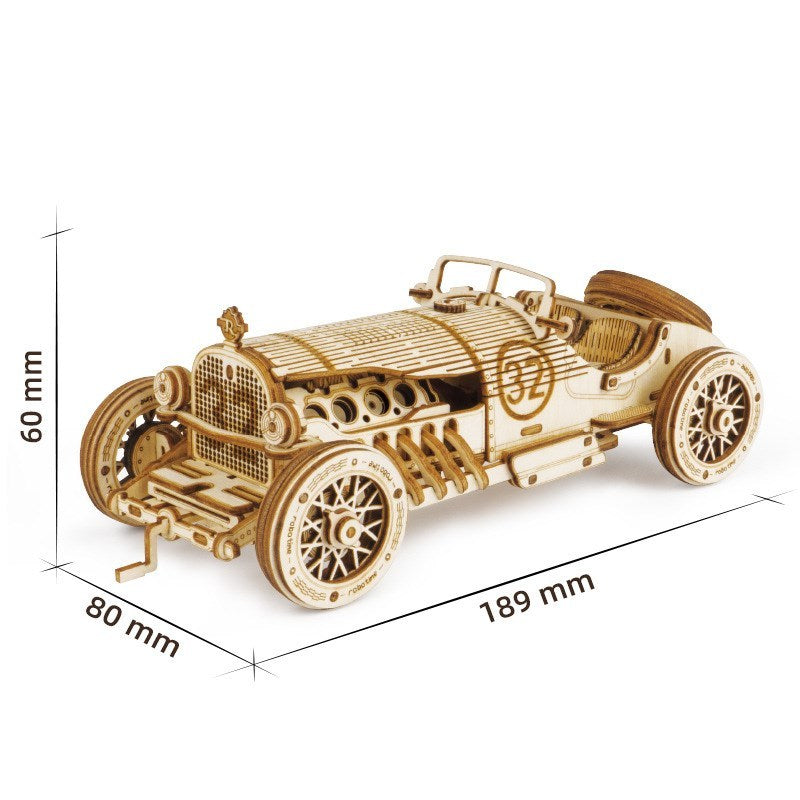
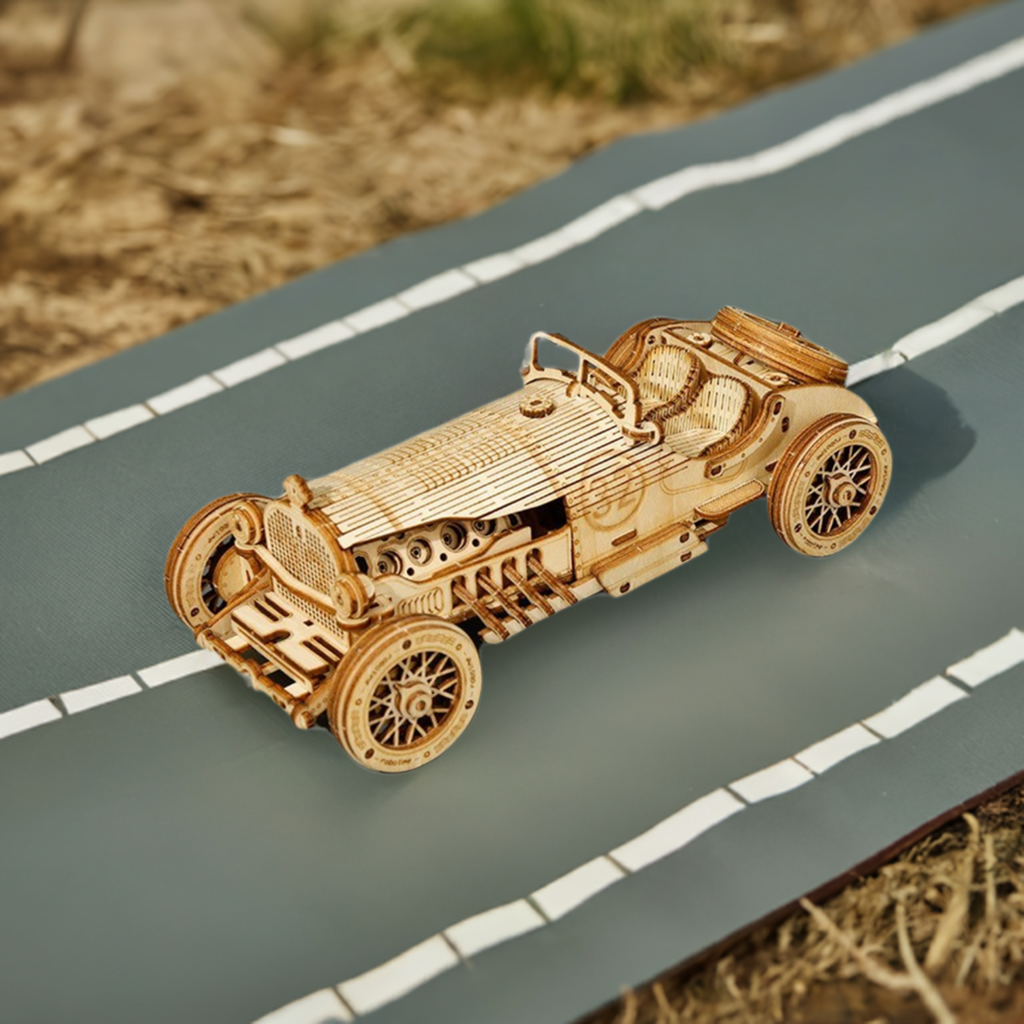
3D Wooden Car
This product draws inspiration from the development of road vehicles in the 19th century. It features miniature replicas of vehicles from that era, crafted with intricate details. This unique mechanical 3D puzzle is made from laser-cut plywood, ensuring it is non-toxic, environmentally friendly, and has a smooth wooden finish. Assembling this mechanical model toy requires both attentiveness and patience. Experience the satisfaction of putting together this entire IQ toy set with your own hands.


Testimonials
-

★★★★★
Nice design relatively easy to assemble.
Very good design, easy to remove parts from panels, some others are hard to remove without damage. I did have some trouble with the exhaust, but it was a great and interesting challenge. I did break one piece but fortunately that was one of the spares that was included. These are not toys that one can play with, they are more for displaying on a shelf.

-

★★★★★
Takes practice, but a fun kit.
This was actually my second try at a ThinkPuzzles, and the experience (and some guidance from a friend) on the first paid off. One thing that helped a lot, was having an X-Acto type hobby knife handy for releasing the parts. Just a couple of quick cuts to start the piece releasing was very helpful. Also, it's hard to describe, but an extra bit of patience goes a long way with these puzzles. Some parts are difficult to slide into place; rather than pushing, just very gently and patiently work the piece back and forth (rocking it a little) to work it on/into place. Also, using the tip of your X-Acto knife (or a toothpick) to apply a bit of wax (e.g. lip balm) to some of the parts helps them slide on.

-

★★★★★
It’s a challenge, Looks great on display!
When completed this ThinkPuzzles Car 3D puzzle is a very rewarding experience. With only 220 pieces this is not a complicated, time consuming build. 95% of this puzzle is very well designed and engineered resulting in fit and finish that for the most part is very well achieved. There are, however, a couple places where I suggest caution. The seats, the body shell and the rear fascia are each scored to allow each of these pieces to bend and take a final curved form. To prevent these pieces from breaking where they are scored, I suggest lightly rubbing them (top and bottom) with a little warm water and then allow them to soften before assembling. Step-10 of the assembly (when the build is about 90% complete) the exhaust headers are to be inserted into the exhaust manifold which was assembled way back in Step-5. The exhaust headers are curved and have tiny "barbs" on both sides of the end that is to be inserted into the manifold. The curved shape is weak because is runs across the grain of the plywood. The "barbs" make this assembly very difficult and making this assembly with the exhaust manifolds (left and right) already in place is nearly impossible. I suggest carefully cutting the tiny "barbs" off the sides of the exhaust headers ... and ... "dry fit" (then remove) the exhaust headers into the exhaust manifolds in Step-5. This should result in a very rewarding build.
-

★★★★★
Fun to build, very well designed
This was my first attempt at building one of these kits, but it won't be the last; I've already ordered the Jeep, and will probably do the locomotive after that. It's been many years since I built a model of anything, and I have to say I enjoyed this a bunch. I suppose you can assemble it without tools, it's very well designed, and there are extras of the delicate parts, but you may find, as I did, a couple of small tools will come in handy and aid assembly. A sharp hobby knife, tweezers (my old man's hands don't work like they use to), and a couple of needle files. This project was quite immersive, and although it took me longer than four hours, I enjoyed every blissful minute of losing myself in the building process. There were a couple of challenging sections, but in the end, I didn't break any parts, and the result looks good. I may touch up some of the spots where the parts were joined to the sheet, and find a suitable place in my home to display it. Great job, ROKR!
-

★★★★★
Fun Hobby
The package arrived on time, which was great because it arrived a day before it was gifted for a Birthday gift. I bought this for my husband who is a truck driver and enjoys working with his hands. First thing of the bat, he loved it. He thought it was very cool, and that same night he began building it. A total of maybe 5-6 hours to complete (done in three days, so about 2 hours a day). The instructions were clear, the packaging was good, and I enjoyed that it came with a few extra parts of the fragile pieces (some break, we used gorilla glue for those). We did use a pack of handy tweezers to take out some parts, it helped with the fragile pieces. Overall he enjoyed building it and the end result is super cool. We will be adding wood polishing to protect it and are looking into our next project.
-

★★★★★
Detailed and Intricate
I've done several puzzles/models, and they are all high quality and fun. The jeep is one of the more detailed and intricate of the models. It can be a bit difficult to assemble, where many of the pieces are thin and delicate and go into narrow places (or at least when old, fat fingers are doing the assembly). But it is worth it, to enjoy the eventual quality of the model and construction. I needed some glue, for a couple parts that didn't go together quite firmly enough, and for a couple parts that I managed to crack and needed repair. Overall, a highly enjoyable model.
-

★★★★★
A Very Rewarding Experience
When completed this ROKR Grand Prix Car 3D puzzle is a very rewarding experience. With only 220 pieces this is not a complicated, time consuming build. 95% of this puzzle is very well designed and engineered resulting in fit and finish that for the most part is very well achieved. There are, however, a couple places where I suggest caution. The seats, the body shell and the rear fascia are each scored to allow each of these pieces to bend and take a final curved form. To prevent these pieces from breaking where they are scored, I suggest lightly rubbing them (top and bottom) with a little warm water and then allow them to soften before assembling. Step-10 of the assembly (when the build is about 90% complete) the exhaust headers are to be inserted into the exhaust manifold which was assembled way back in Step-5. The exhaust headers are curved and have tiny "barbs" on both sides of the end that is to be inserted into the manifold. The curved shape is weak because is runs across the grain of the plywood. The "barbs" make this assembly very difficult and making this assembly with the exhaust manifolds (left and right) already in place is nearly impossible. I suggest carefully cutting the tiny "barbs" off the sides of the exhaust headers ... and ... "dry fit" (then remove) the exhaust headers into the exhaust manifolds in Step-5. This should result in a very rewarding build.
-

★★★★★
Absolutely love it will be buying more.
I give this a 10 I built it in 2 days absolutely love it the detail is magnificent. There was spots I did have to use super glue on be cause it wouldn't stay in place. There was a couple pieces the broke but luckily my glue skills is great.. but there nothing I can complain about honestly..

-

★★★★★
There's a Whole Lot to Like About this Puzzle
Order filled promptly. Arrived second day after order. 286 pieces in a box that is only 6" x 9" x 3/8". This is a 1:40 scale model. Detail is amazing. Inside the cab and the sleeper are detailed. This is described as a Level 4 puzzle. The plywood is very thin and requires great care to avoid damaging the pieces. Assembling the windshield + the roof + the side panels of the cab is very challenging. Assembling the stirated hood to the grille without damaging the stirated hood is also very challenging. There is no wax included with this puzzle but please know that wax can be "your friend." This is a terrific puzzle to build and "the price is right."
-

★★★★★
A bit difficult but worth the effort
Most complex model I've done yet. A few gotchas in the instructions if you aren't paying attention, so pay attention. Trouble with engine hood tabs on vertical sides, so I cheated and snipped them off, still holds together good by the time the fender assemblies go on. When finished I hit a few places with a spot of glue so that handling wouldn't cause unplanned rapid disassembly. Fun project.
-

★★★★★
Nice Model
Fun model to build, delicate pieces but if you're careful it's will fine. A little clear coat and it's awesome
-

★★★★★
Very Rewarding...need patience.
I use permanent magic markers to customize the look on this neat Grand Prix racer! Magic markers do not add any extra moisture to the wood (no swelling). A little bit goes a long way on the plywood pieces. Go to the "Dollar" type stores and get a whole pack of colored magic markers! I also use an "emery board" for sanding/adjusting the tabs which go into the holes to secure the pieces. The tolerances of tab size to hole size are VERY tight and if you're not careful, you may break/bend the pieces. Just lightly sand the tab or slot and use a flat head pair of pliers to grasp the piece and push gently into place. If you sand too much and the tab becomes wobbly, then use a drop of super glue to secure in place as needed. Make sure you're ready for the piece to be permanently in place before you use super glue. Super glue allows you to get back to work almost immediately. Giftable ONLY to people with patience and understanding. My 9 year old grandson is NOT going to get these as gifts.


